


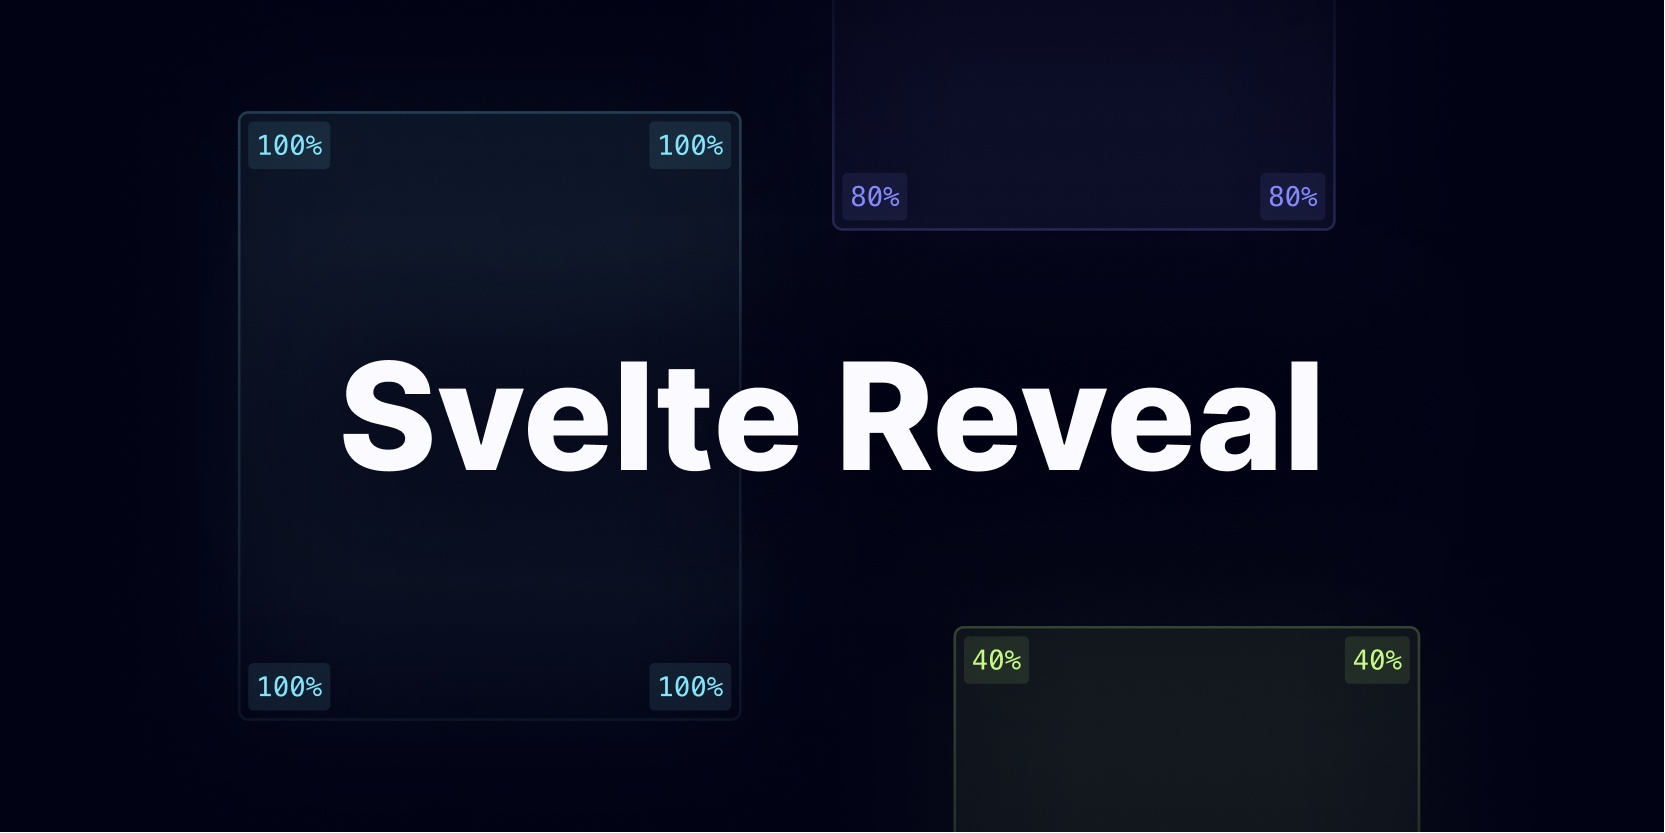
Svelte Reveal
21 Feb 2023 • 7 MIN READ
Project type
NPM Package
Year
2021
Roles
Developer
Tools and technologies
HTML, CSS, TypeScript, Jest, esbuild, Docker, GitHub Actions, SonarCloud
In a nutshell
Svelte Reveal is an NPM package created with the purpose of helping Svelte users add reveal on scroll animations to their web applications in the easiest way possible. This library leverages the Intersection Observer API in order to know when to trigger the animations, which is great for performance.
Introduction
When we create software that lives on the web (i.e. a website or a web application) we often strive to add that last bit of magic, the cherry on the cake, that small oomph to make the end-users go wow. However, that’s never easy and it requires good taste and experience. One could pull it off with sublime design skills, while others resort to post-design phase effects, such as the reveal on scroll effect, which - as the name suggests - reveals the elements as the user scrolls down on the page.
That was exactly what I wanted to have on my portfolio, when I started developing the latest version in 2021, and in this case study I will go in detail about how I created this library and the choices I made.
The problem
Around the time when I was designing the latest version of my portfolio website in mid-2021, I discovered Svelte and I was completely blown away. I had always been a huge React fan, but I very much enjoyed the minimal approach that Svelte had, because it made me remember how it was like developing for the web in 2014 when I first learned how to use HTML, CSS and JavaScript. Back in the day, working with web technologies was not necessarily easier, but those where for sure simpler times, as the web-space was not as saturated as it is today.
So I decided to make a commitment and code the new version of my portfolio with Svelte. However, I had not considered the fact that the ecosystem was not as massive as it is with React, and when I looked around to find libraries that would allow me to add the reveal on scroll effect… I was underwhelmed.
Don’t get me wrong, I found results, but they were not quite what I had in mind, both in terms of developer experience, and of the underlying reveal process. In fact, I noticed that other authors had decided to create their own library using Svelte slots (similar to React children). There is nothing wrong with that approach, but in my opinion it goes a bit against one of Svelte's core purpose: writing more concise code. Having to wrap every to-be-transitioned component adds at least 2 extra lines of code each time, making your files unnecessarily bloated for such a simple add-on.
Some other people also managed to pull that effect off, by attaching event listeners to the window object in order to transition the elements, but in terms of performance this approach does not scale very well.
The solution
My idea was to use Svelte actions instead of slots, which are functions you can attach to a DOM element and that allow you to get access to that particular element, and hook into its lifecycle. All you have to do to use an action is to write
use:<action_name>(e.g.
use:reveal) in an HTML tag and you are good to go.
The biggest advantage of Svelte actions, is that they take up considerably fewer lines of code, and since I started working on this project in 2021 I haven’t encountered any obstacle.
I also wanted Svelte Reveal to not degrade the performance of the website or web application where it is used on, so I decided to leverage the Intersection Observer, which is not only very flexible in its API, but is first and foremost great for performance.
<!-- Code Figure 1. A code snippet showing a basic Svelte Reveal example -->

<script>
  import { reveal } from "svelte-reveal";
</script>

<div use:reveal={{ transition: "slide", duration: 4000, customEasing: [0.35, 0.5, 0.65, 0.98] }}>
  <p>A paragraph</p>
</div>
<!-- Code Figure 2. A code snippet showing a basic Saos example -->
<script>
import Saos from "saos";
</script>
<Saos animation={"from-left 4s cubic-bezier(0.35, 0.5, 0.65, 0.95) both"}>
<div>
<p>A paragraph</p>
</div>
</Saos>Code figures 1 and 2 show the same reveal on scroll example written with Svelte Reveal and Saos (another reveal on scroll library for Svelte, which uses slots instead). In this short and contrived example, the Svelte Reveal code snippet is only 2 LOCs shorter, but it’s fairly easy to imagine how that number could grow in a large-scale project with tons of animations.
The development process
Svelte Reveal is an open-source project, but it wasn’t always like that. When I first started playing with Svelte actions and reveal on scroll animations in my portfolio, Svelte Reveal was just a file living inside the portfolio repository (it didn’t even have a proper name, it was just called reveal). However, after using it on more and more elements, I began adding more and more options, and I realized that that file had become too big, and it was time to transfer it to its own repository.
After detaching it from my portfolio’s repository, I worked on it for roughly 4 extra months, before I was ready to make the project open-source and publish it on NPM, so that other people could make use of it too.
The development of Svelte Reveal is always a little slow, because it started as a side-project while studying at university, where spare time isn’t really a thing. However, every now and then I manage to do some bit of work and eventually when I have enough changes to justify a new release, I push it to the NPM registry.
How Svelte Reveal works
The way Svelte Reveal works is actually pretty simple and it goes like this:
- Compute the final options to be used, based on the default library values and the values provided by the user in the Svelte action
- Grab the target DOM element and wrap it in a
<div>
- Create the CSS class names for the target element based on the animation type
- If not already present, generate a new blank stylesheet to host the Svelte Reveal styles
- Populate the stylesheet with the CSS rules needed to create the animations
- Create a new Intersection Observer object to observe the target element
- Add the CSS reveal class name when the target element is in view
User properties
As mentioned in the previous section, the user (aka the developer using this library) has control over many properties, such as:
- Duration: how long the animation lasts
- Delay: how much time must pass before the animation starts
- Easing: to control the type of easing function that is used to create the animation
- customEasing: the specific weights of a custom easing function
- Transition: the type of animation that gets used
- x: the starting offset position on the x-axis of a “slide” transition
- y: the stating offset position on the y-axis of a “fly” transition
- rotate: the starting rotation offset of a “rotate” transition
- opacity: the starting opacity value of any transition
- blur: the starting blur value of a “blur” transition
- scale: the starting scale value of a “scale” transition
- root: the root element used by the Intersection Observer
- rootMargin: the margins that are applied to the Intersection Observer root element before the intersection test is performed
- threshold: the threshold value used by the Intersection Observer to know when the target element is in view
All these properties can be passed to the Svelte Reveal action via an object, as shown in Code Figure 1.
Tools and technologies
As explained in the previous section, Svelte Reveal is at its core just a DOM manipulation library, and it doesn’t need any particular tools and technologies to achieve its goal. In fact, I only use the following ones:
- TypeScript: the high-level programming language used in this project
- HTML: to create the little markup that I inject in the page
- CSS: to style the injected markup
- Jest: testing framework to make sure that the functions I create do what I expect them to do
- SonarCloud: for code quality checks
- esbuild: to transpile the TypeScript files into JavaScript, and to create the final bundle
- Docker: to create an image that can be used to develop Svelte Reveal both from macOS and Windows, without having to worry about missing dependencies
- GitHub Actions: for Continuous Integration (CI) and Continuous Delivery (CD)
Learning from your mistakes
Not long after publishing the first version of Svelte Reveal on NPM, I discovered that the way I was handling styling wasn’t the best idea. In fact, all styles were inlined in the HTML, making it impossible for the developer using this library to apply extra styles on top of it (inline styles have the highest specificity, and can only be overridden by other inline styles). Furthermore, I hadn’t realized that the CSS classes I had generated to create the animations weren’t unique to the targeted elements, so making a change to one element resulted in all the other ones mirroring those changes.
To fix these issues I stopped using inline styles in favor of proper CSS classes, and to avoid sharing animations I appended a uuid to each class name to make them unique. Making these mistakes actually taught me a lot, because they made me aware of a whole range of problems that may arise when working with the DOM.
Learning by doing
Svelte Reveal is without a doubt the project where I learned the most, and that is mostly because I pushed myself to do things I had never done, and without the help of other people.
I learned how to use GitHub Actions and how to compose them together in workflows. I learned how pull requests work. I learned how to write unit tests and how to use a bundler to ship optimized JavaScript to the end-user. I learned how to use TypeScript as a library author. I learned how to write good comments and good documentation. I learned how to interact with people creating issues, because they found a bug or because they had a suggestion on how to tweak something to make it better.
I learned so much, and yet I still feel as I am just scratching the surface. There are still so many features I want to implement (some of which are actually non-trivial), and I hope that this project can continue to capture my journey as I become a better software engineer.
Related posts.

It's been a long road, but I'm so excited to finally be able to share the latest (2022) version of my portfolio with the world!
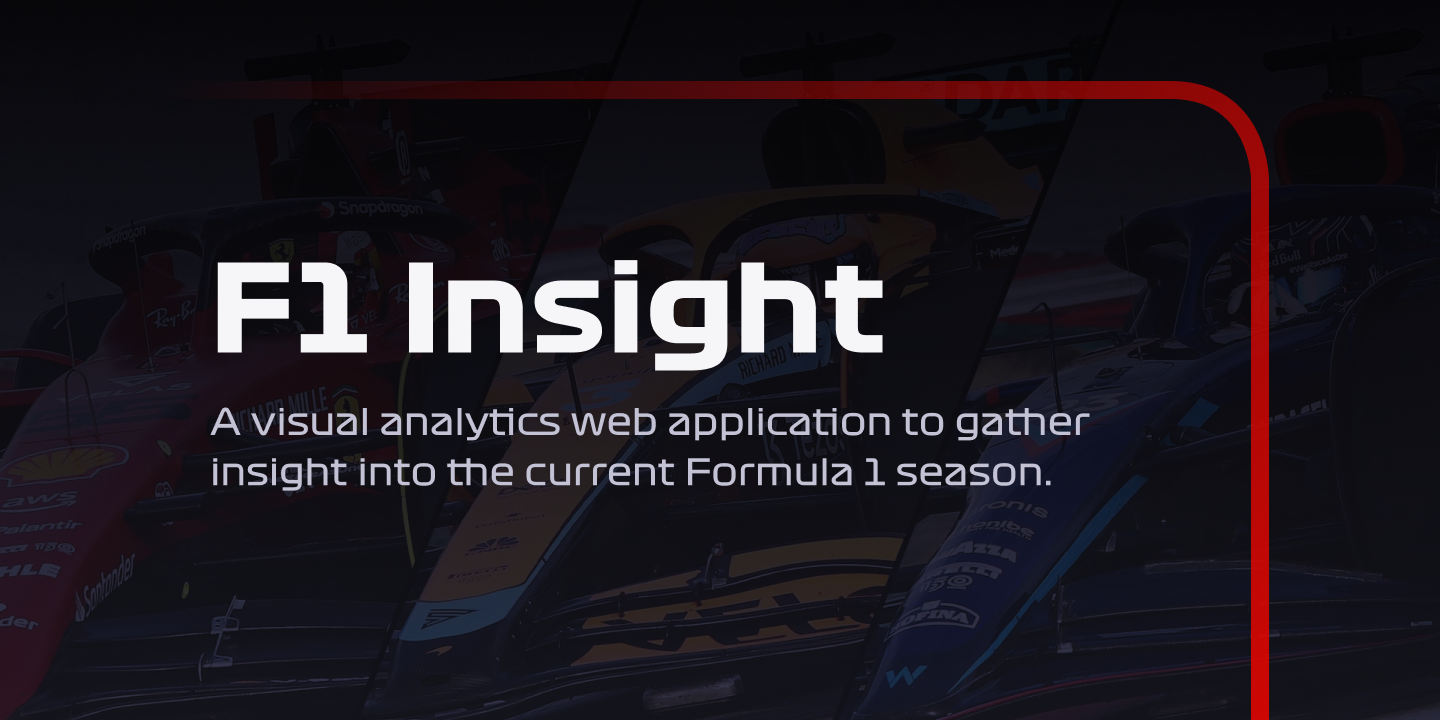
A visual analytics web application to easily gain insight into the current Formula 1 season, and spot trends that would otherwise be difficult to notice.
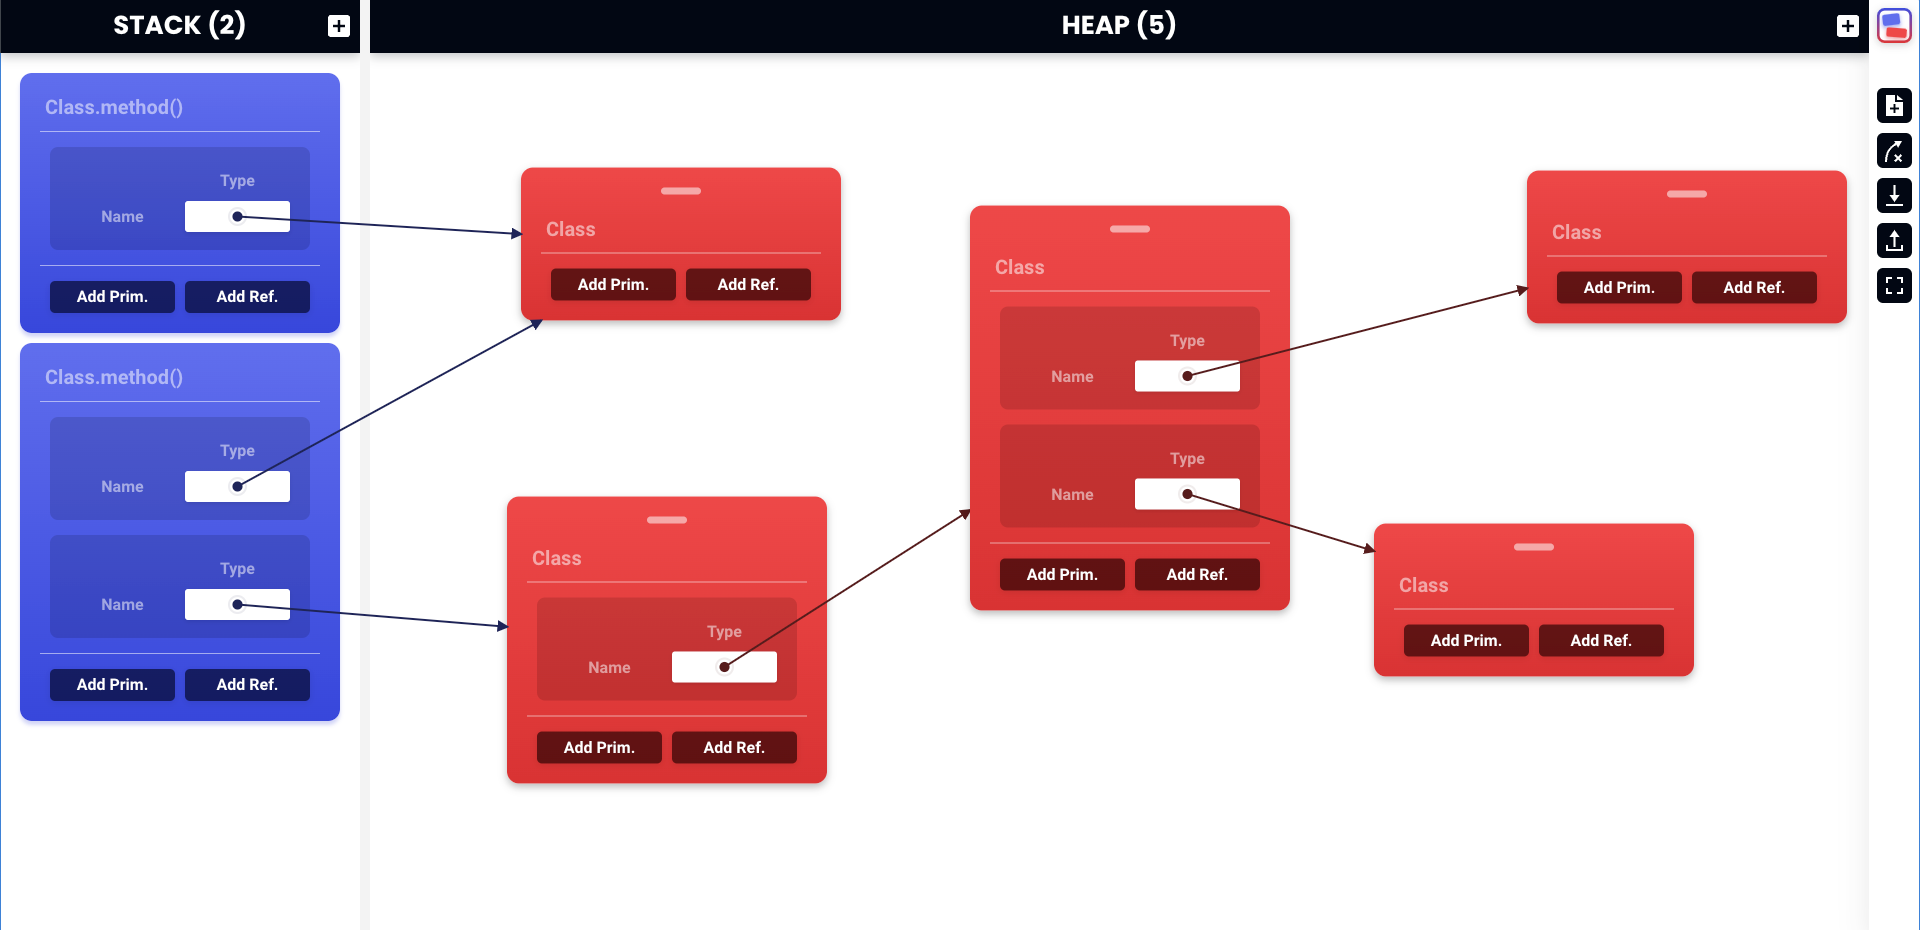
An interactive web application to easily create and manipulate stack and heap diagrams in the context of a university programming fundamentals course.
An open-source Chrome extension to save your favorite fonts from a list of supported websites (including Google Fonts and Adobe Fonts), so you never forget they exist.